
This article explains how to add custom content sections to the homepage using the homepage design settings.
Custom homepage content sections can be used to display text, images, buttons, forms, widgets, shortcodes, or other custom content on the homepage.
Overview
The homepage includes custom content sections that can be enabled and edited from the Design Settings.
There are 10 available custom content sections:
- Custom Content 1
- Custom Content 2
- Custom Content 3
- Custom Content 4
- Custom Content 5
- Custom Content 6
- Custom Content 7
- Custom Content 8
- Custom Content 9
- Custom Content 10
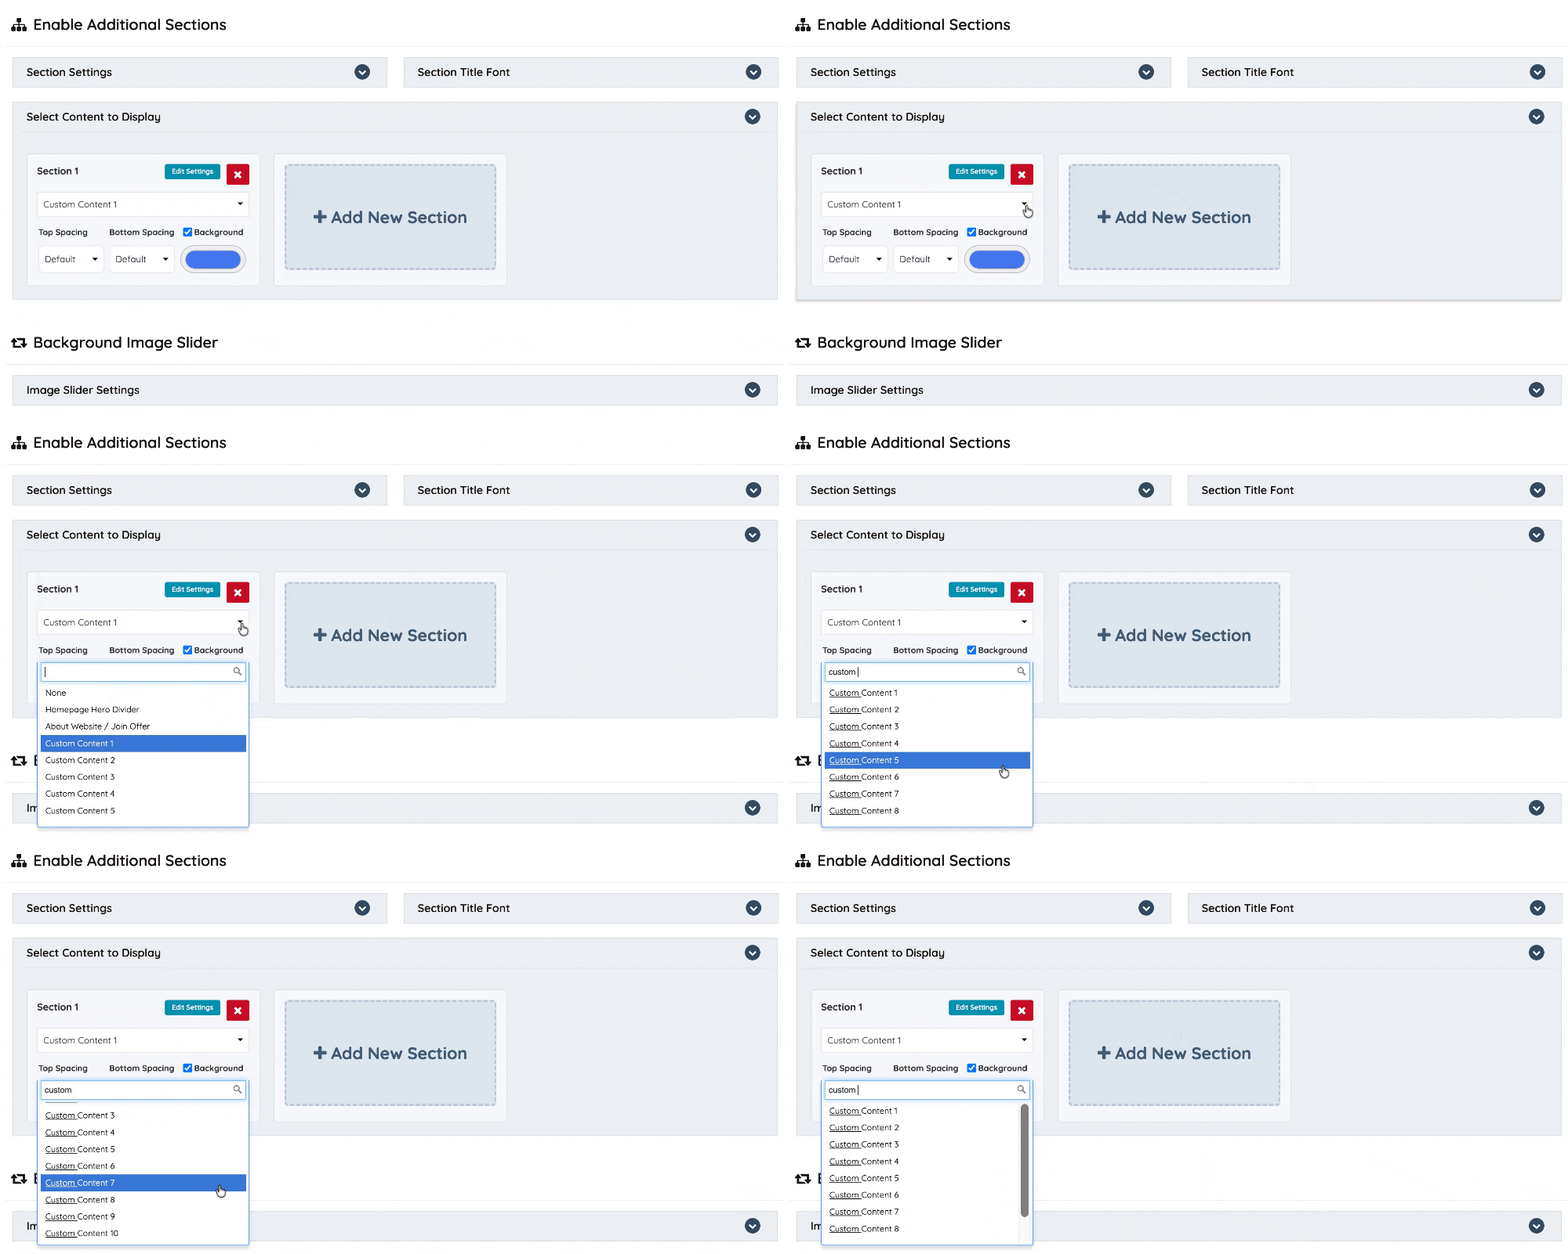
Each custom content section can be added to the homepage layout and edited separately.
Common Uses for Custom Homepage Content
Custom content sections can be used to add extra content to the homepage without editing the website code.
Common examples include:
- Welcome text
- Homepage announcements
- Buttons or call-to-action sections
- Images or banners
- Newsletter signup forms
- Custom widgets
- Embedded feeds or scripts
- Featured member sections
- Promotional content
- Additional homepage text for SEO
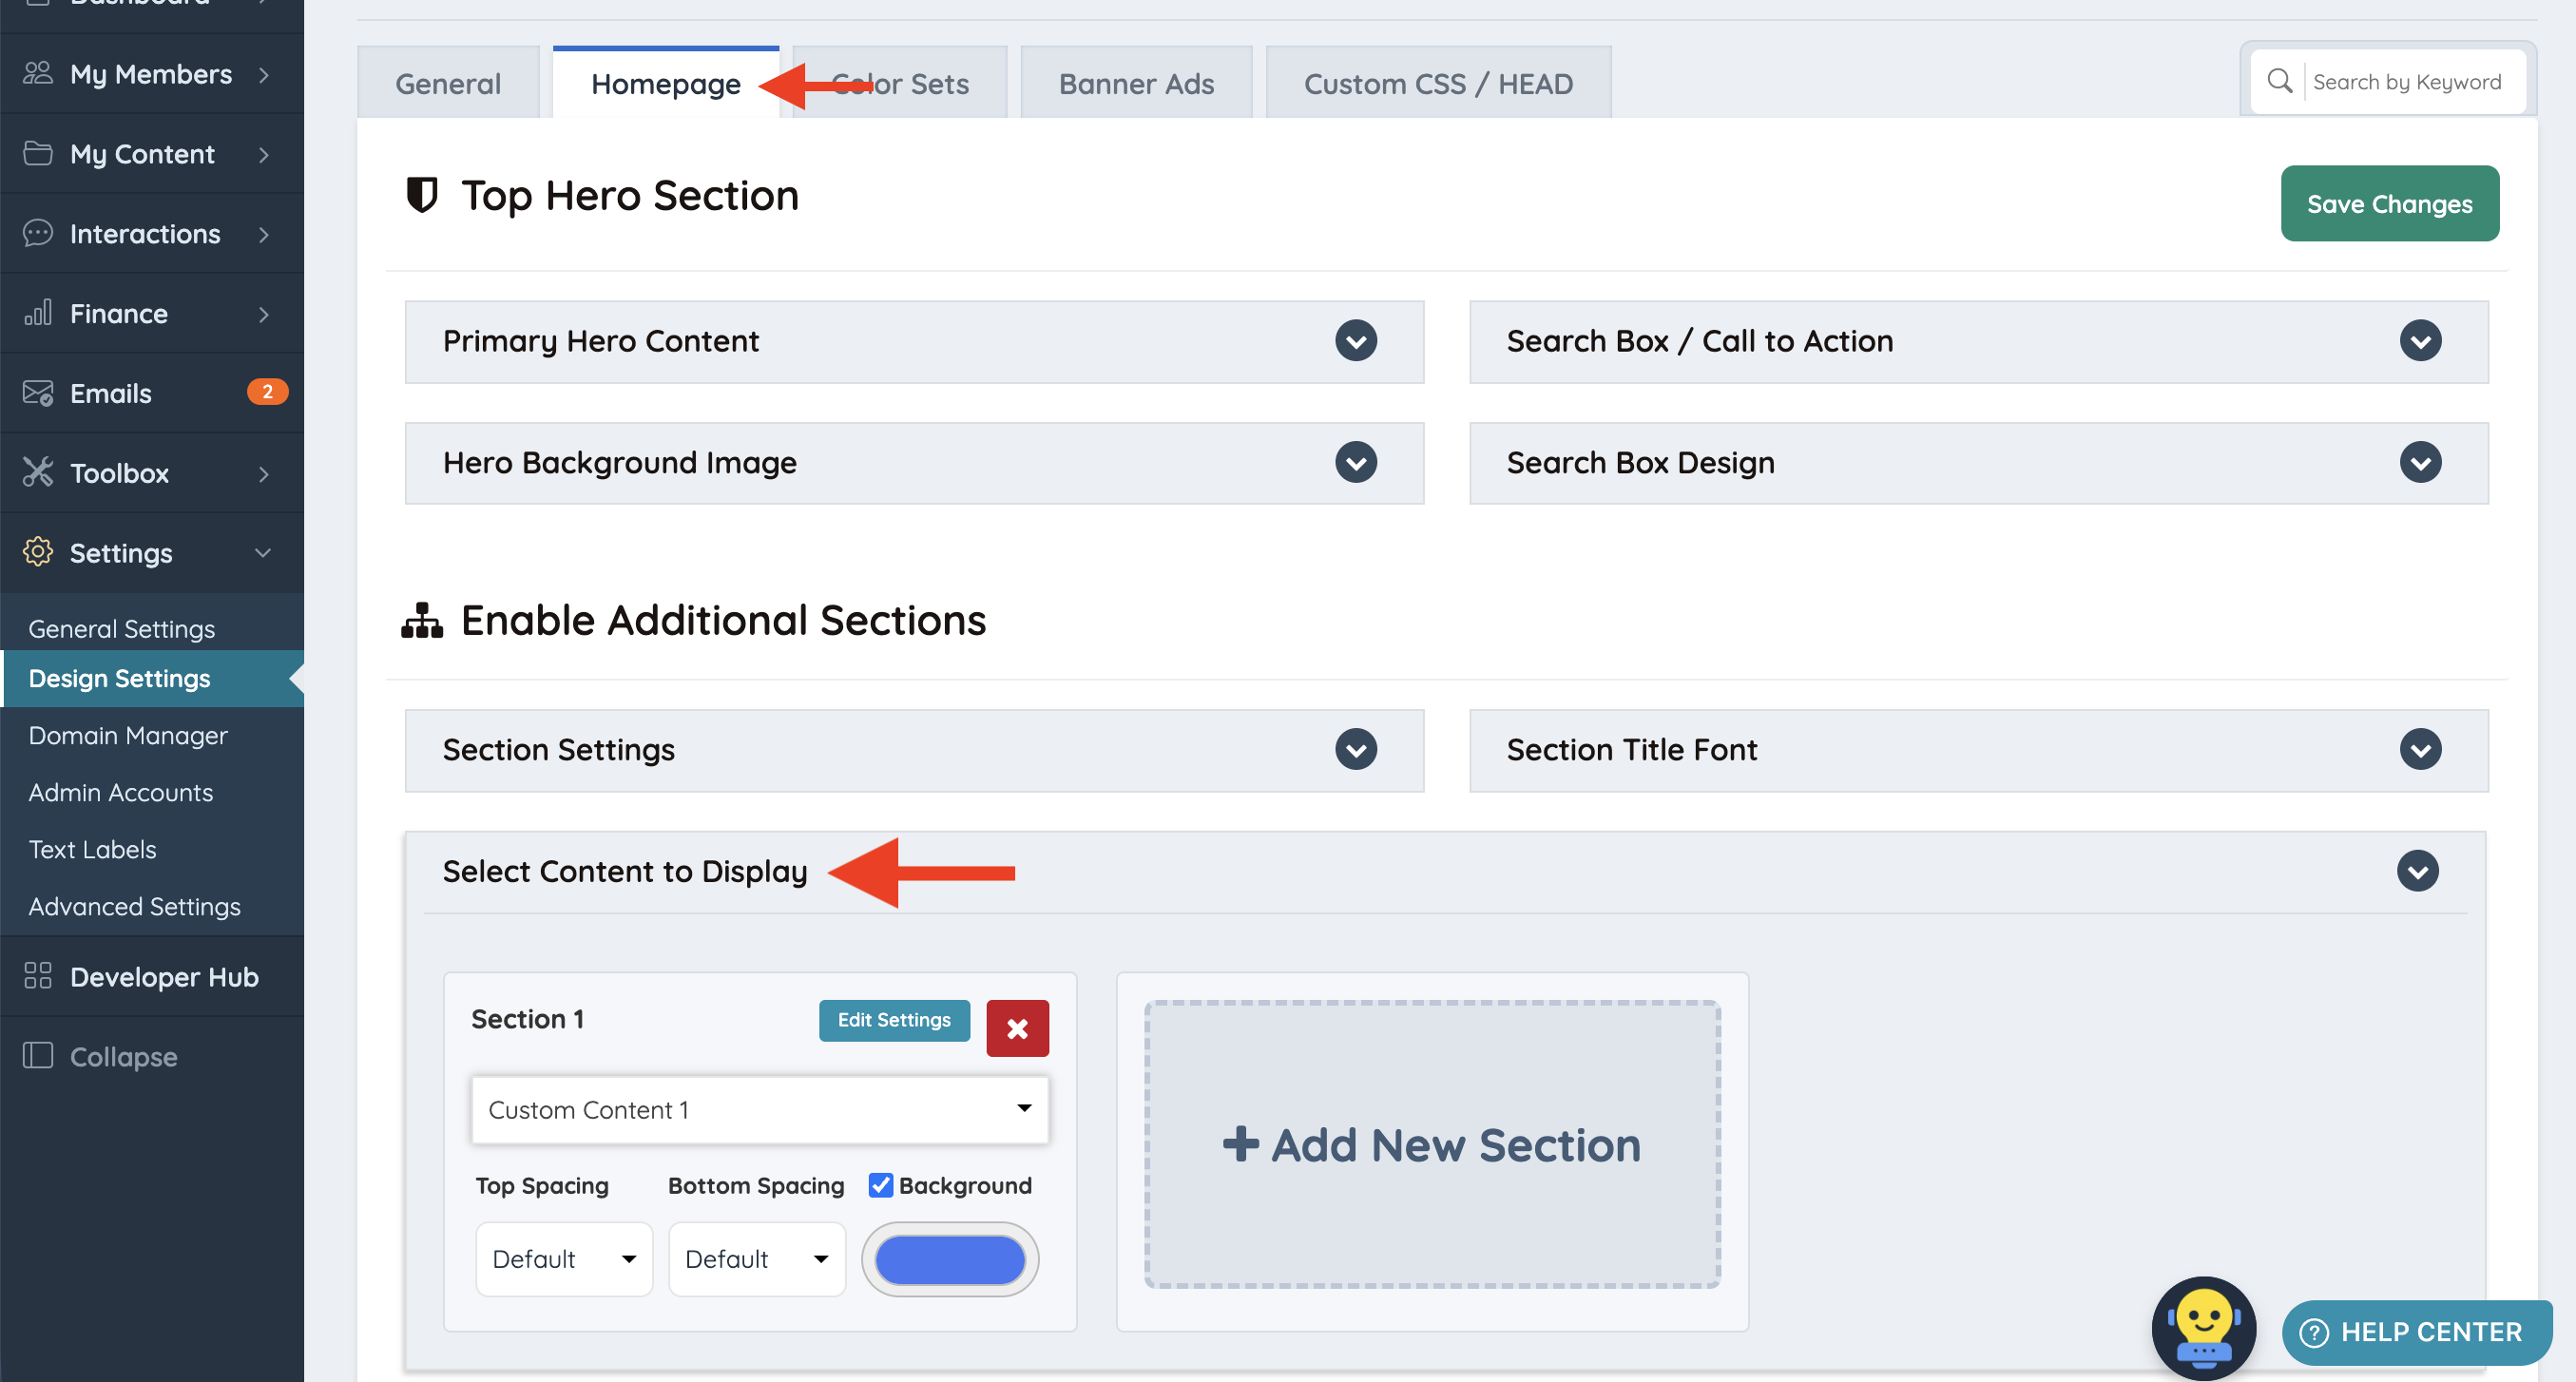
Step 1: Open the Homepage Design Settings
- Go to Settings >> Design Settings.
- Click the Homepage tab.
- Find the Select Content to Display section.
Step 2: Select a Custom Content Section
In the Select Content to Display area, select one of the available custom content sections.
For example:
- Custom Content 1
- Custom Content 2
- Custom Content 3
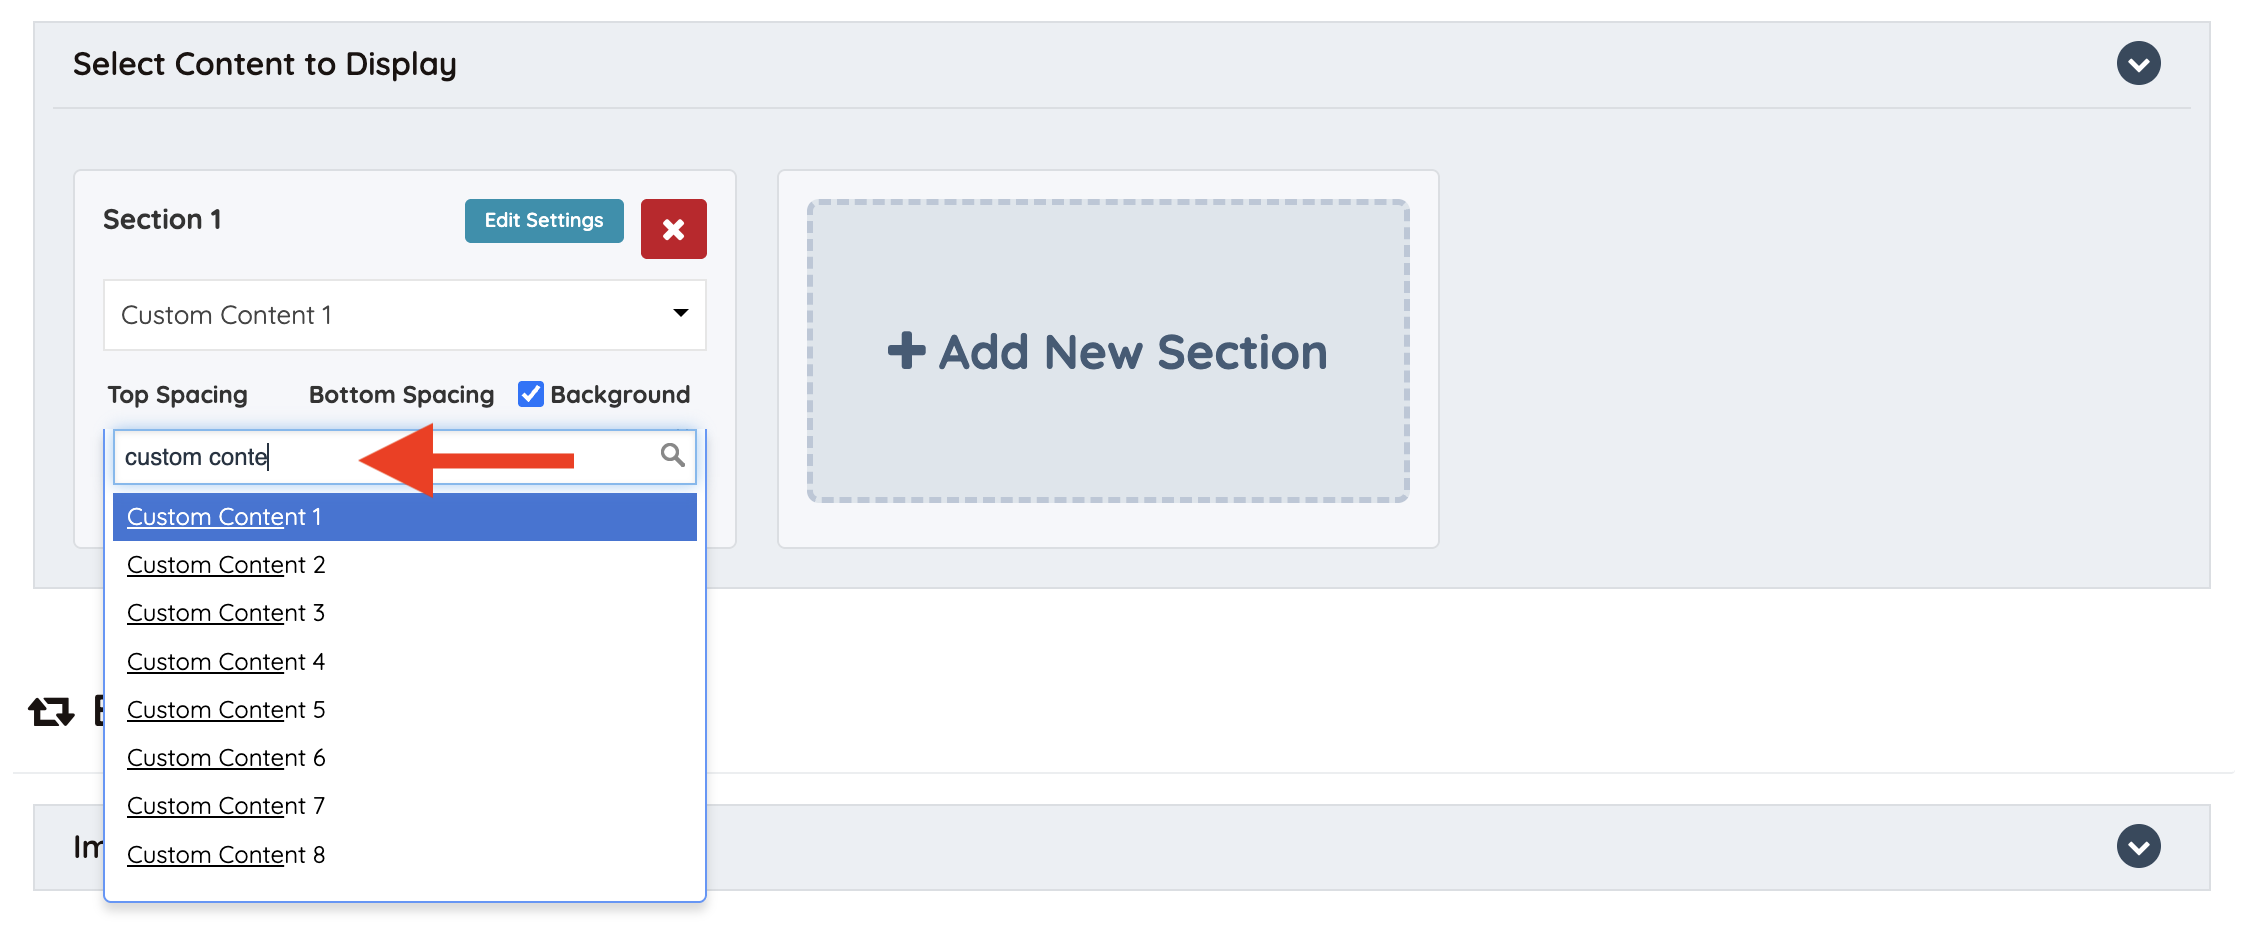
The selected custom content section will be added to the homepage layout.
Step 3: Edit the Custom Content Section
After selecting the custom content section, click Edit Settings.
The content editor will open. Use the Froala editor to add or edit the content that should display in this homepage section.
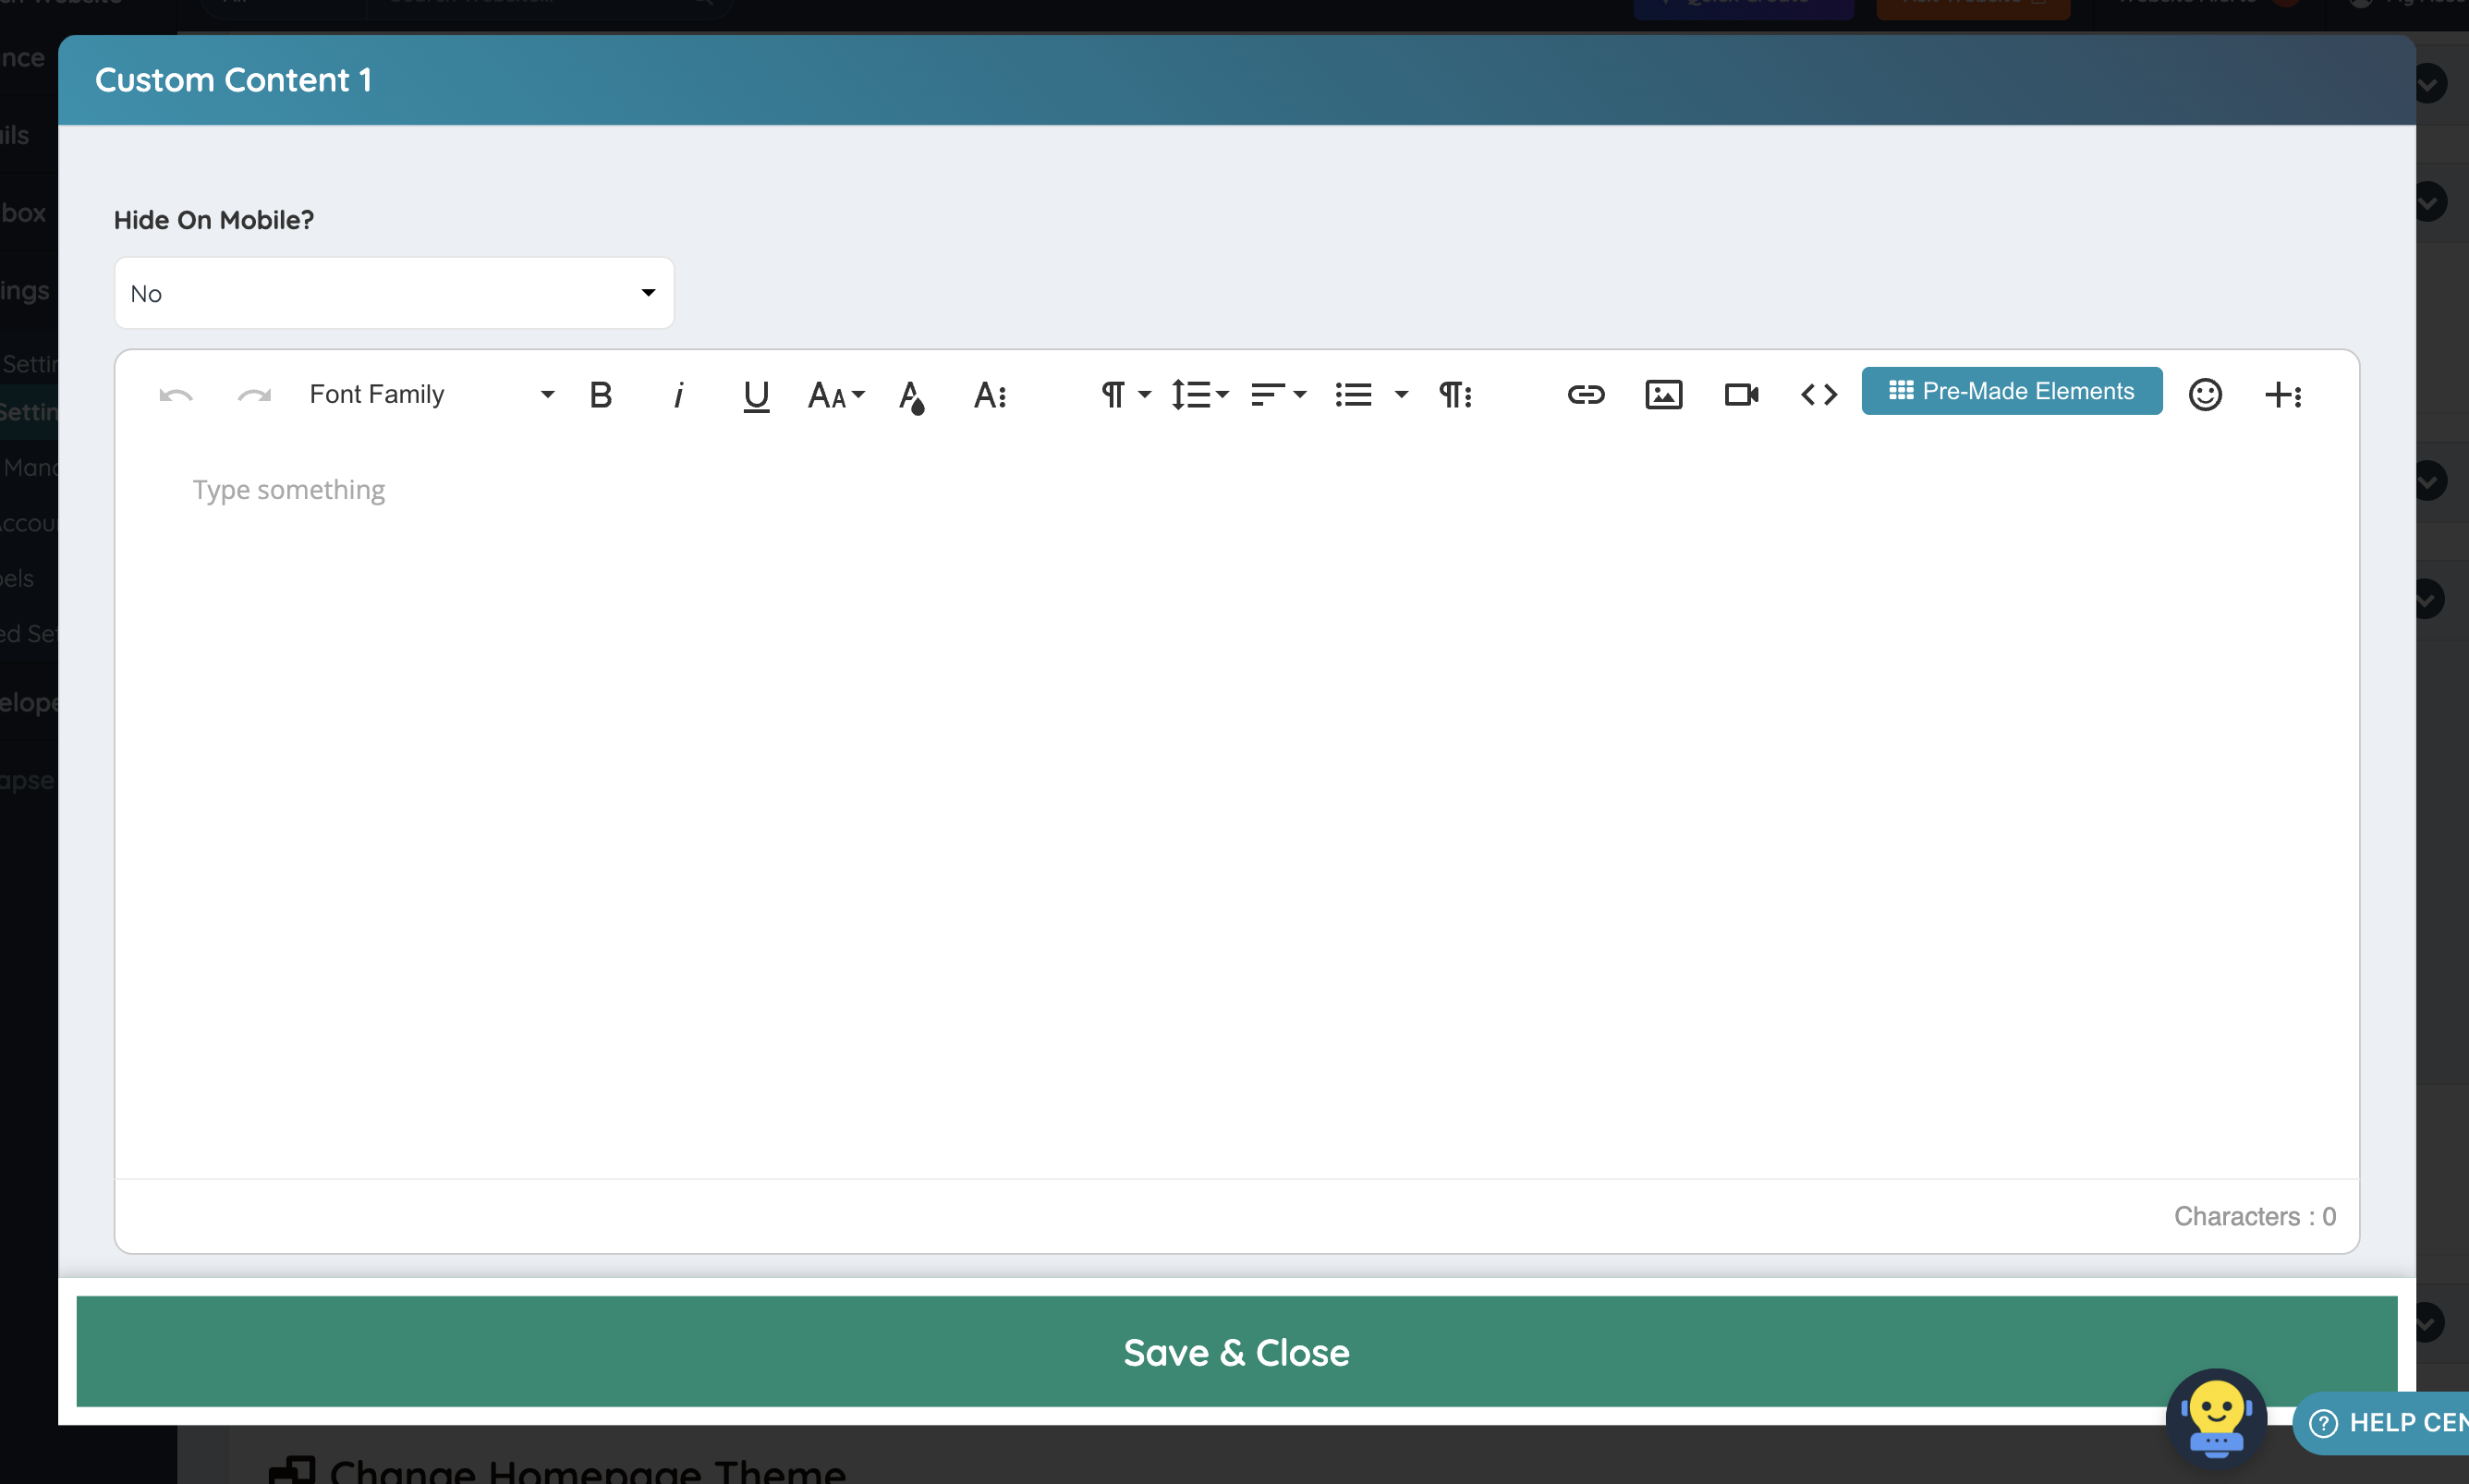
Content can include:
- Text
- Images
- Links
- Buttons
- Tables
- HTML
- Widget shortcodes
- Form shortcodes
For more information about the editor, see the following article:
Everything About Froala WYSIWYG Text Editor
Step 4: Save the Custom Content
After the custom content has been added:
- Review the content in the editor.
- Click Save Changes.
The custom content section will now be saved.
Step 5: View the Homepage
After saving the changes, visit the homepage on the front end of the website.
Confirm that the custom content section displays in the selected area of the homepage layout.
Add a Widget to a Custom Homepage Section
Widgets can be added to custom homepage sections using widget shortcodes.
Widget shortcodes use this format:
[widget=Widget Name Here]Example:
[widget=Bootstrap Theme - Module - Newsletter Sign Up Form]To add a widget to the homepage, paste the widget shortcode into the custom content editor and save the changes.
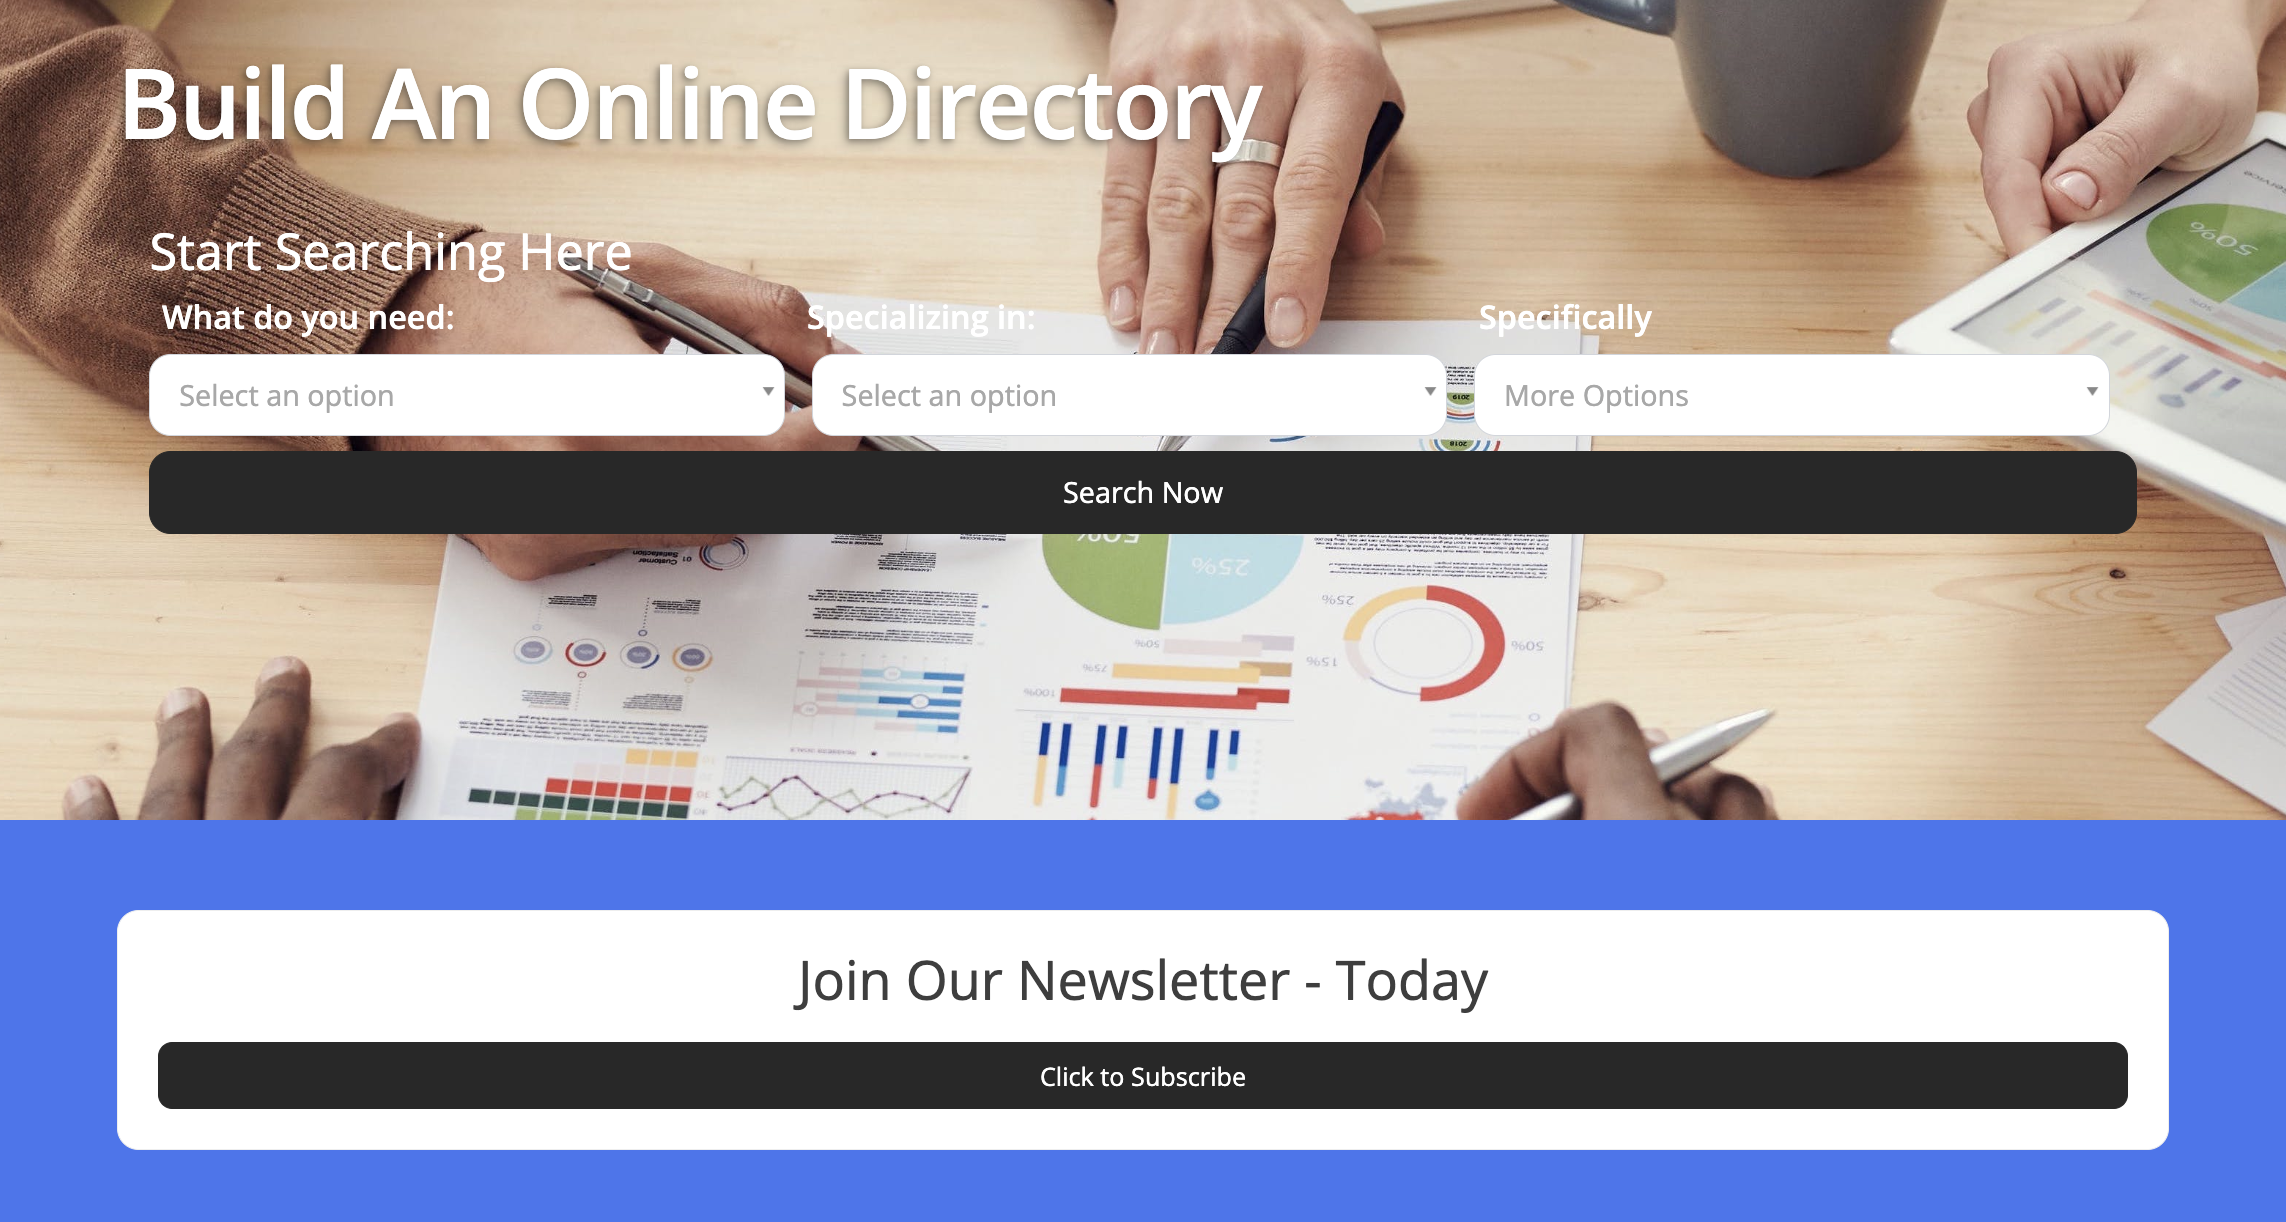
For more information, see the following article:
How to Call a Widget on a Custom Page
Add a Form to a Custom Homepage Section
Forms can also be added to custom homepage sections using form shortcodes.
Form shortcodes use this format:
[form=form_system_name]Example:
[form=contact_us]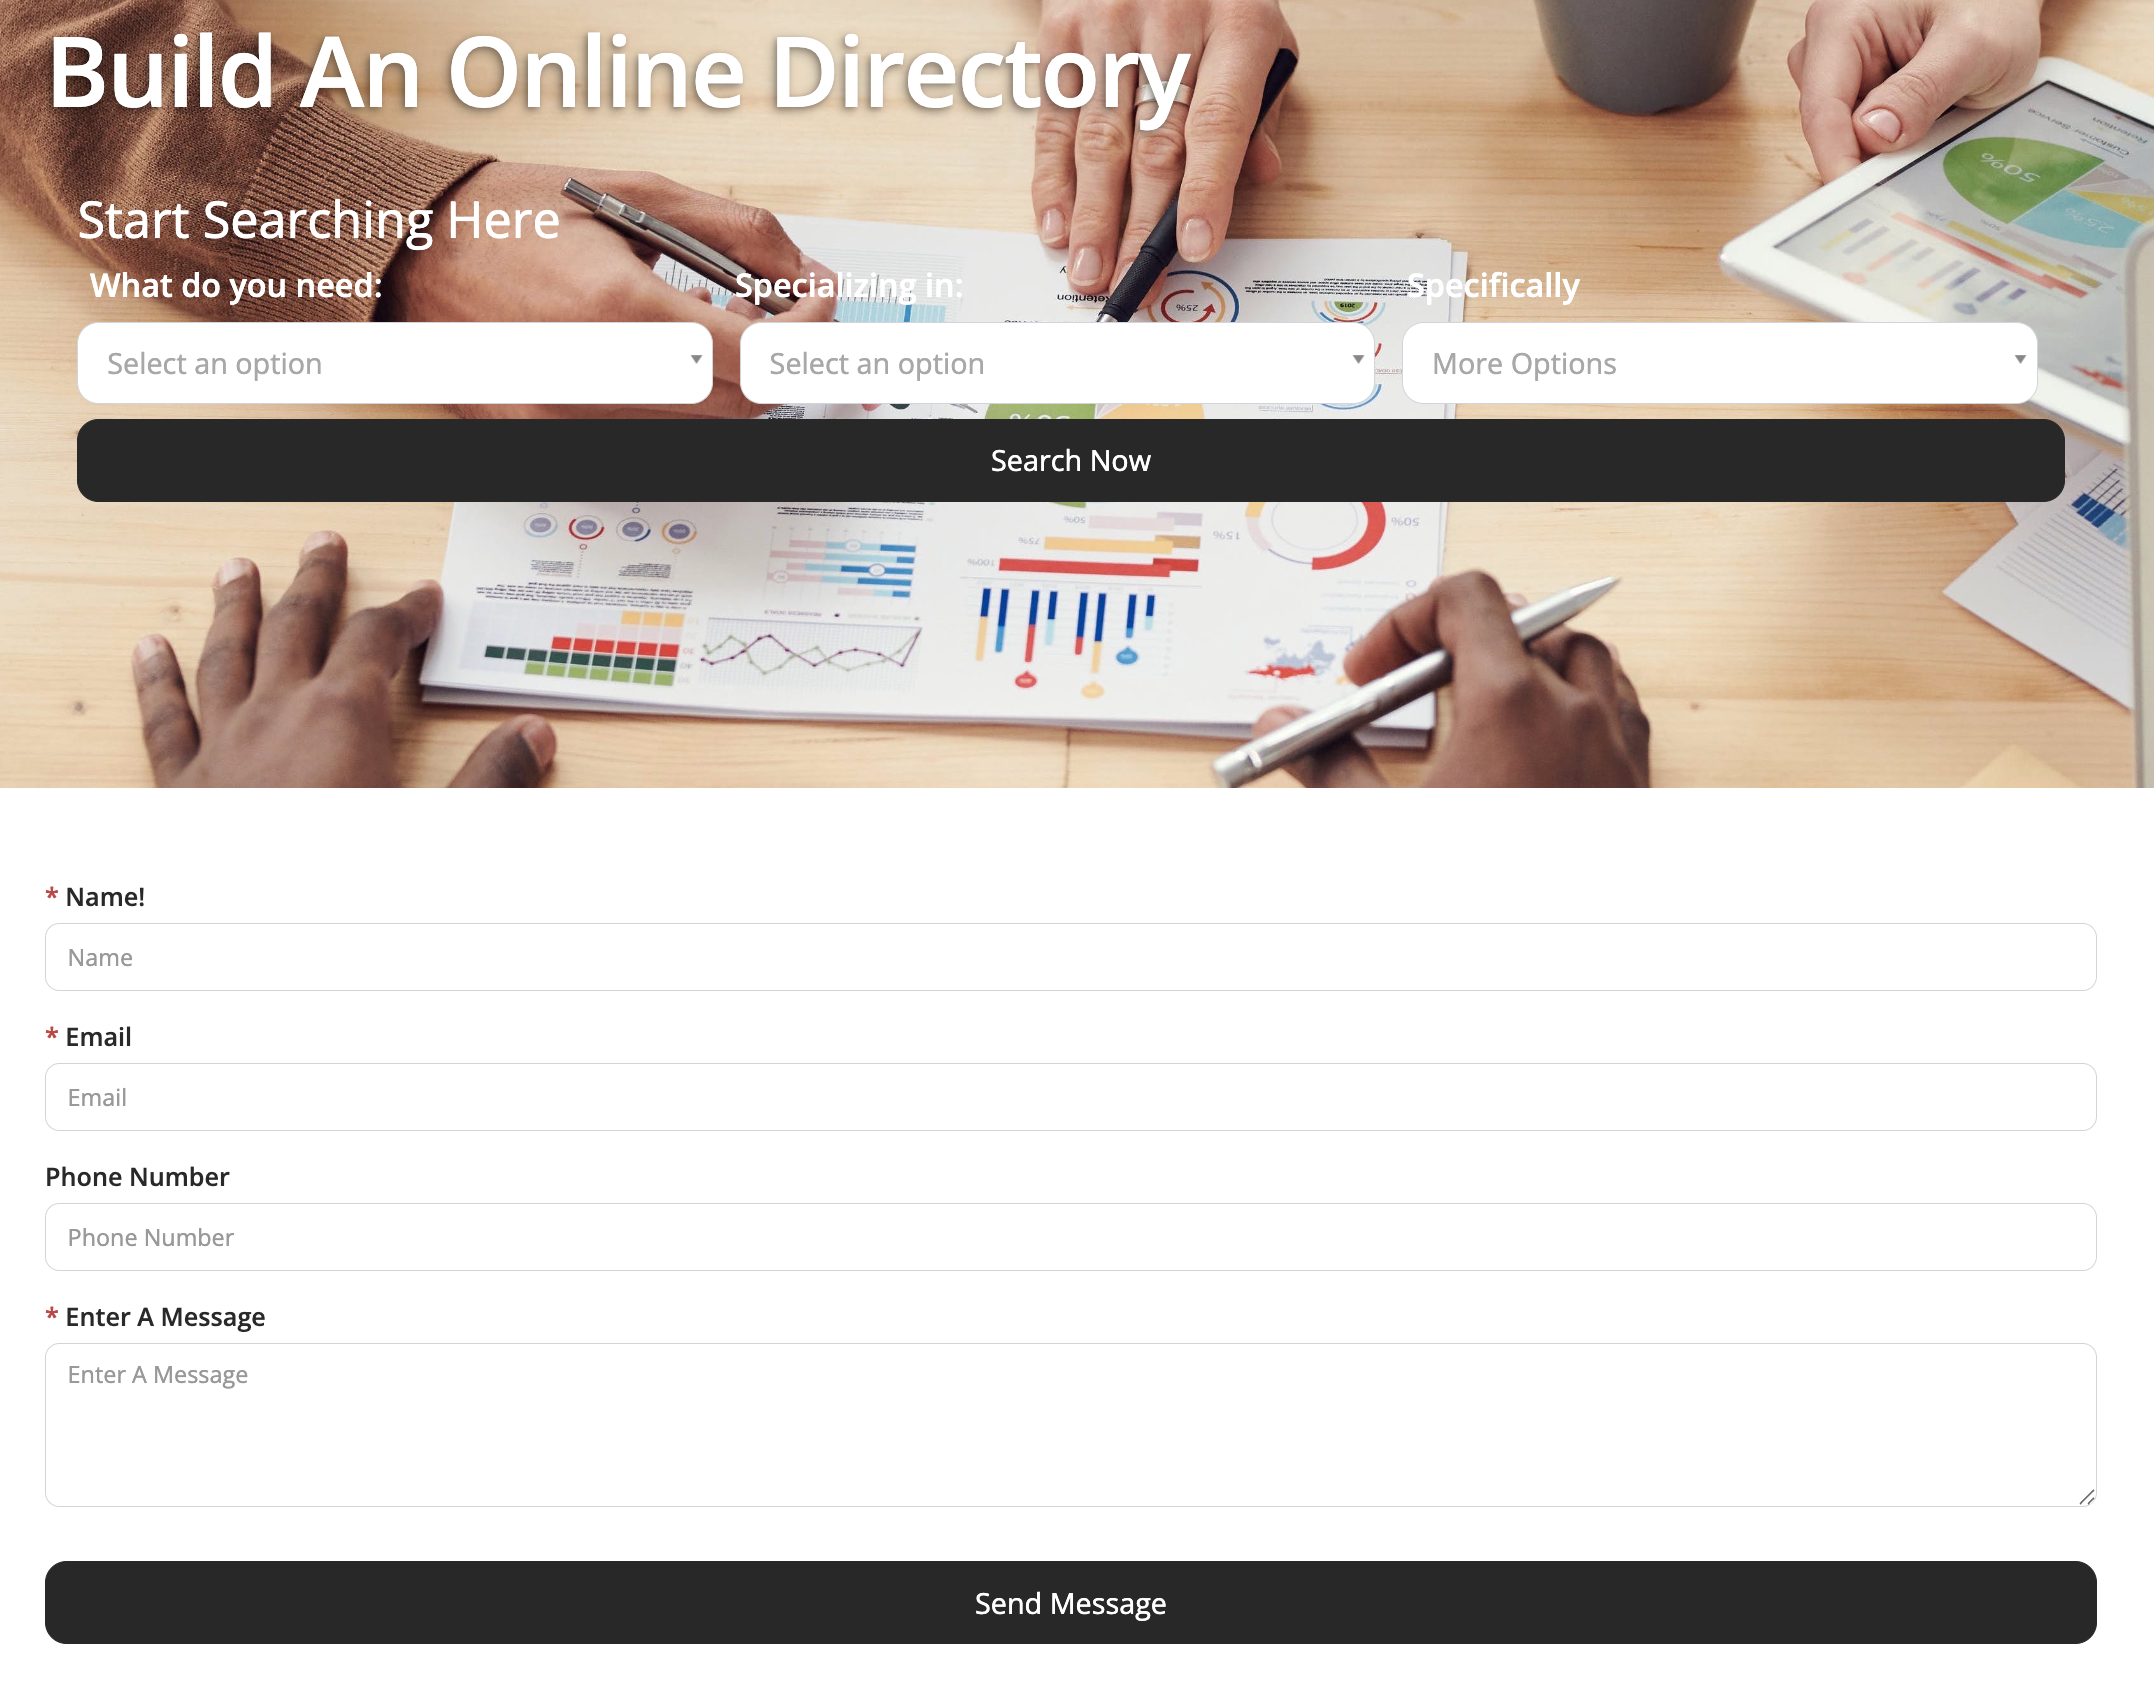
To add a form to the homepage, paste the form shortcode into the custom content editor and save the changes.
Editing Custom Content 1 from the Web Page Builder
The homepage can also be edited from the front end using the Frontend Admin Manager Menu.
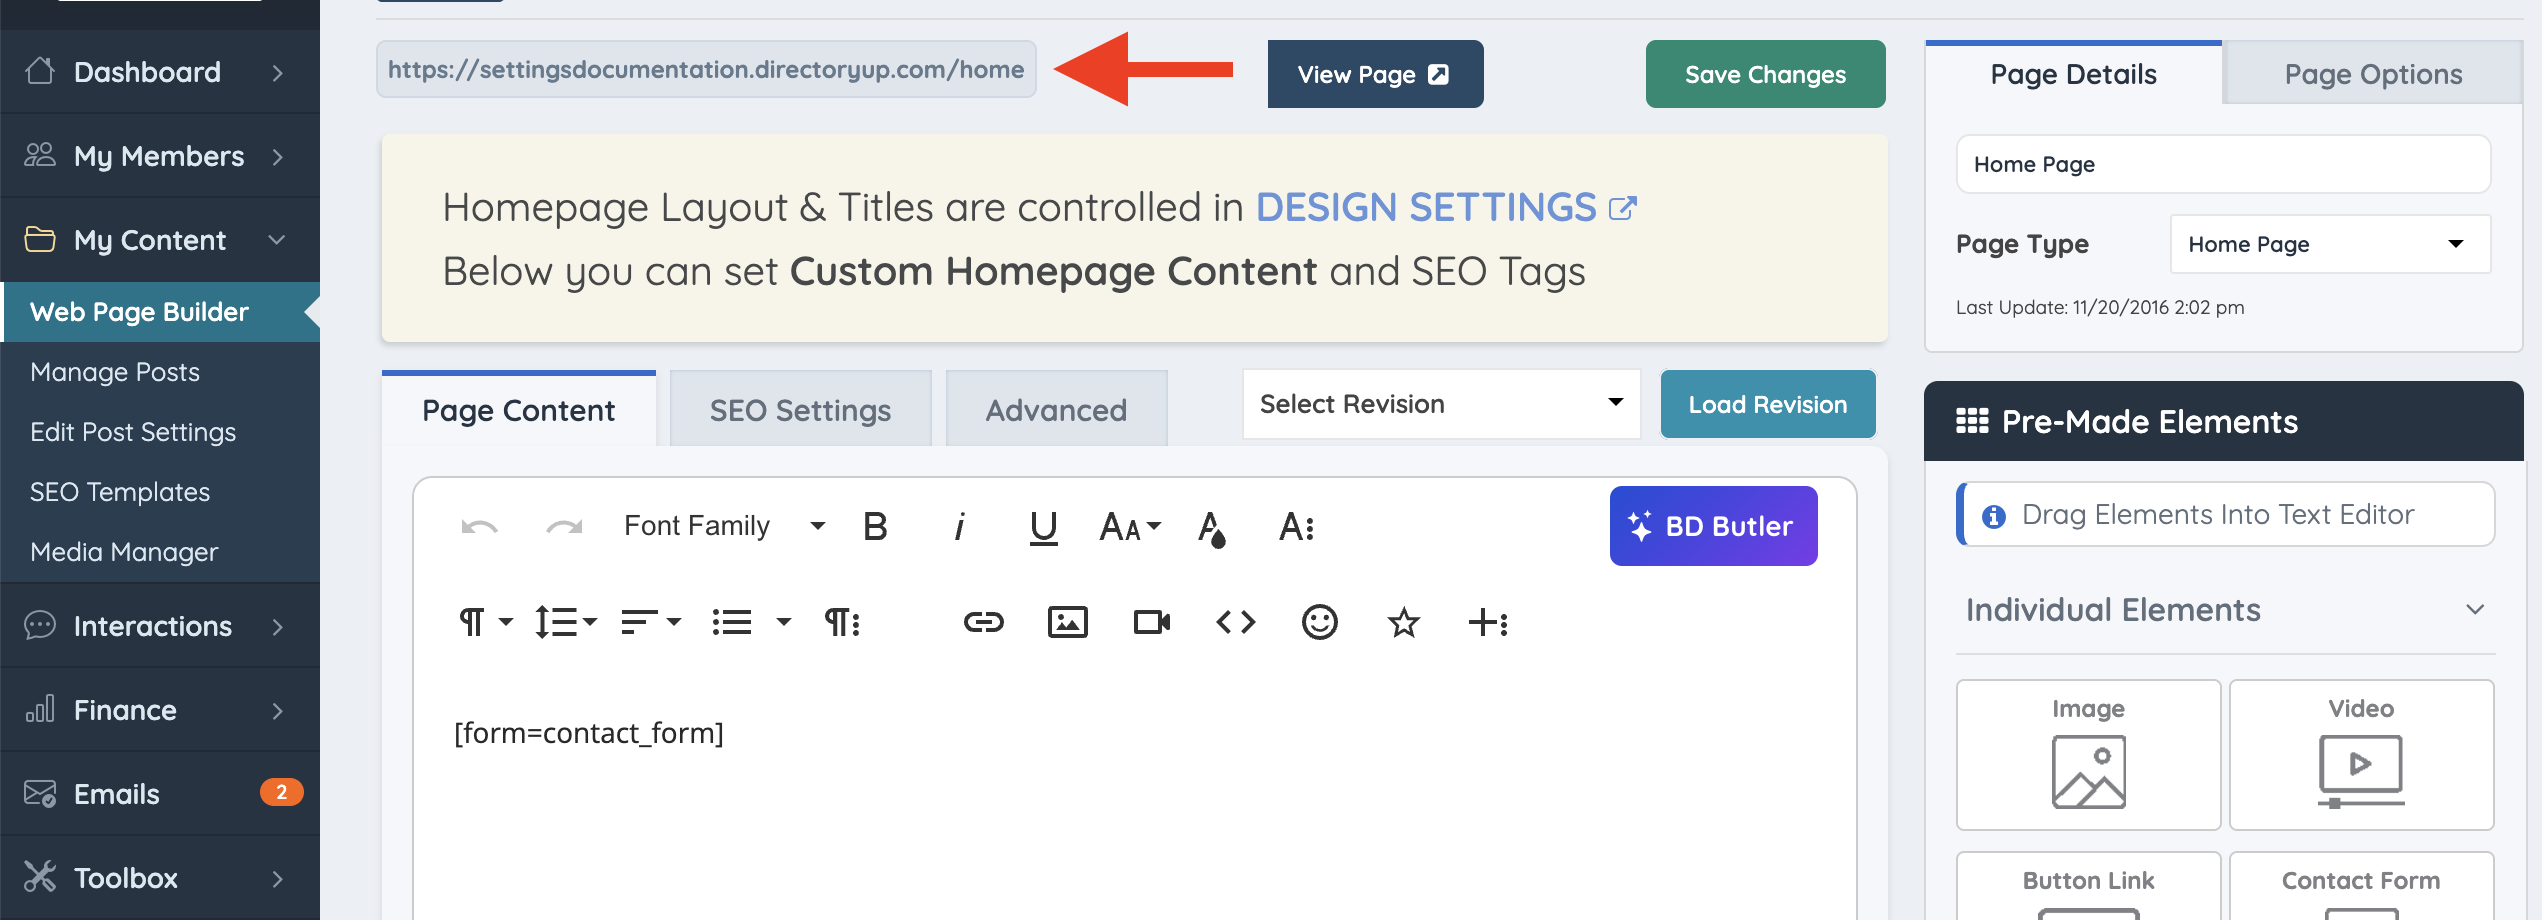
Any content added to the Homepage web page will display when Custom Content 1 is selected in the homepage content display settings.
This means Custom Content 1 can be managed through the Homepage web page content area, while the other custom content sections are managed through the homepage design settings.
Important Notes
- There are 10 available custom content sections for the homepage.
- Each custom content section can be edited separately.
- Custom content sections can include text, images, buttons, forms, widgets, shortcodes, or HTML.
- Custom Content 1 can also display content added to the Homepage web page.
- After saving changes, view the homepage on the front end to confirm the content displays correctly.
